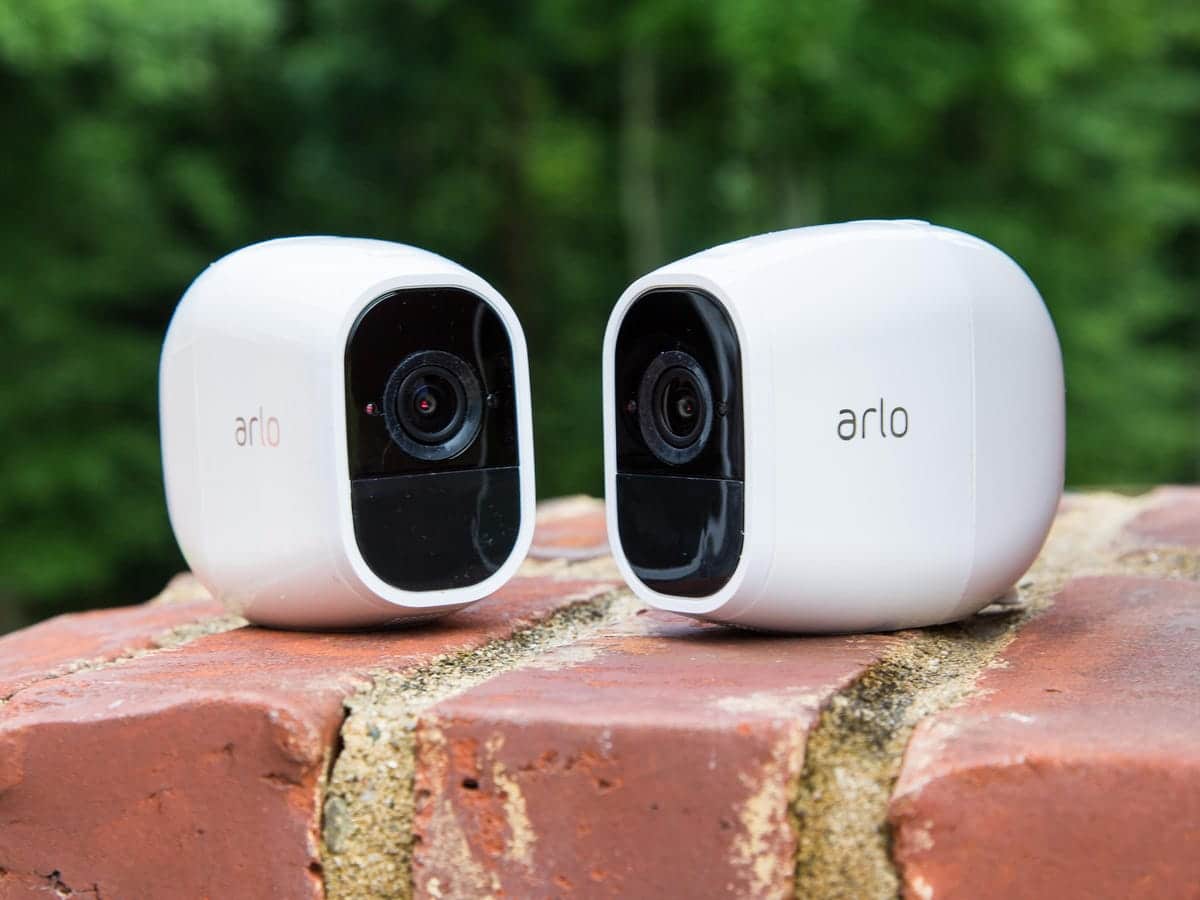
Arlo Pro 2 outdoor security cameras
Arlo security cameras are one of the best security devices to consider today. Performing Arlo setup is a breeze. After setting up the Arlo security camera, you will secure your home with an extra layer of protection.
Now, you might be wondering how to perform Arlo setup, right? Well, wonder no more! Here, in this post, we are going to provide you with the easy steps following which the Arlo setup process will be as easy as counting 123 for you. Hence, stick to this 5-minute read!
Arlo Setup: Complete Instructions
Step 1: Download Arlo App
The first step towards Arlo setup process is to download the Arlo app. Make sure to download the correct version of the Arlo app. Also, for well working of the Arlo app, ensure to have a blazing-fast internet connection and delete some unwanted data and cache from the device you are using.
The Arlo app will take you through the Arlo setup process and allow you to modify the camera settings accordingly. Once you have downloaded the Arlo app, create an account, add the first camera, choose the model number from the appearing list and follow the on-screen Arlo setup instructions.
Step 2: Turn on Your Arlo Cameras
When you get started with the Arlo setup process, install the battery very carefully. If you don’t know how to install the batteries, follow the instructions provided in the manual.
Once the battery gets installed, close the camera’s case and have a quick nudge on the LED on the front panel of the camera. On the off chance, if the LED flashes amber, connect it to the charging cable. Amber color indicates low battery. And, if the LED flashes blue, it indicates full battery. So, you can skip the charging process and move to the next Arlo camera setup step.
Step 3: Connect Your Arlo Camera to WiFi
Ensure that your Arlo camera is properly put on power. Once you are sure about it, connect it to your home WiFi network by using the correct password. Make sure that you are getting sufficient internet speed from your service provider’s end. Otherwise, you will face issues while initiating the Arlo camera setup process.
Now, the Arlo app will create an OR code. Scan your Arlo camera to the code in a proper way. You will hear a chime, don’t you? If yes, it means that your camera has successfully scanned the code.
Step 4: Place Your Arlo Security Camera
Select Your Mount
- Install your Arlo security camera
- Mount the camera 7-8 feet above the ground, but not beyond or beneath that. Know that this is one of the best vantage points for capturing video footage and motion detection.
Step 5: Adjust the Arlo Security Camera View
Most of the Arlo security cameras have a wide field of view to capture a number of live activities. You can adjust the Arlo camera accordingly for a better view.
Step 6: Position Your Arlo Camera
- Navigate to the Arlo settings page using the Arlo app.
- Select My devices keeping the Arlo camera model number in mind.
- Thereafter, select Device utilities > Camera Positioning.
- Now, adjust your camera. Ensure that you cover all the areas you want the Arlo camera to capture.
Step 7: Test Your Arlo Camera
- Is your Arlo camera working fine? Don’t you want to test it? If yes, do the following:
Navigate to the Settings menu of your Arlo security camera. Ensure to connect the Arlo camera and base station. Make sure that you have done Arlo base station setup already.
- Once you have access to the Settings of your Arlo device, select My Device and chose the Arlo camera you want to test.
- Thereafter, select Device Utilities > Motion Detection Test. If there is motion, the Arlo camera LED will blink amber. You can also adjust the motion by adjusting “motion sensitivity slider”.
Step 8: Arm Your Arlo Security Camera
This is one of the most important steps. Well, arming your Arlo security camera tells it to start sending notifications and recorded video clips. It is also one of the excellent ways to protect your privacy in a bigger way. It is recommended that you Arm your Arlo security camera whenever you are not at home or go to sleep any hour of day or night.
The Last Words
Here ends our guide on how to perform Arlo setup. We hope that you find the steps we have provided here easy and helpful. Please share your review of the article!